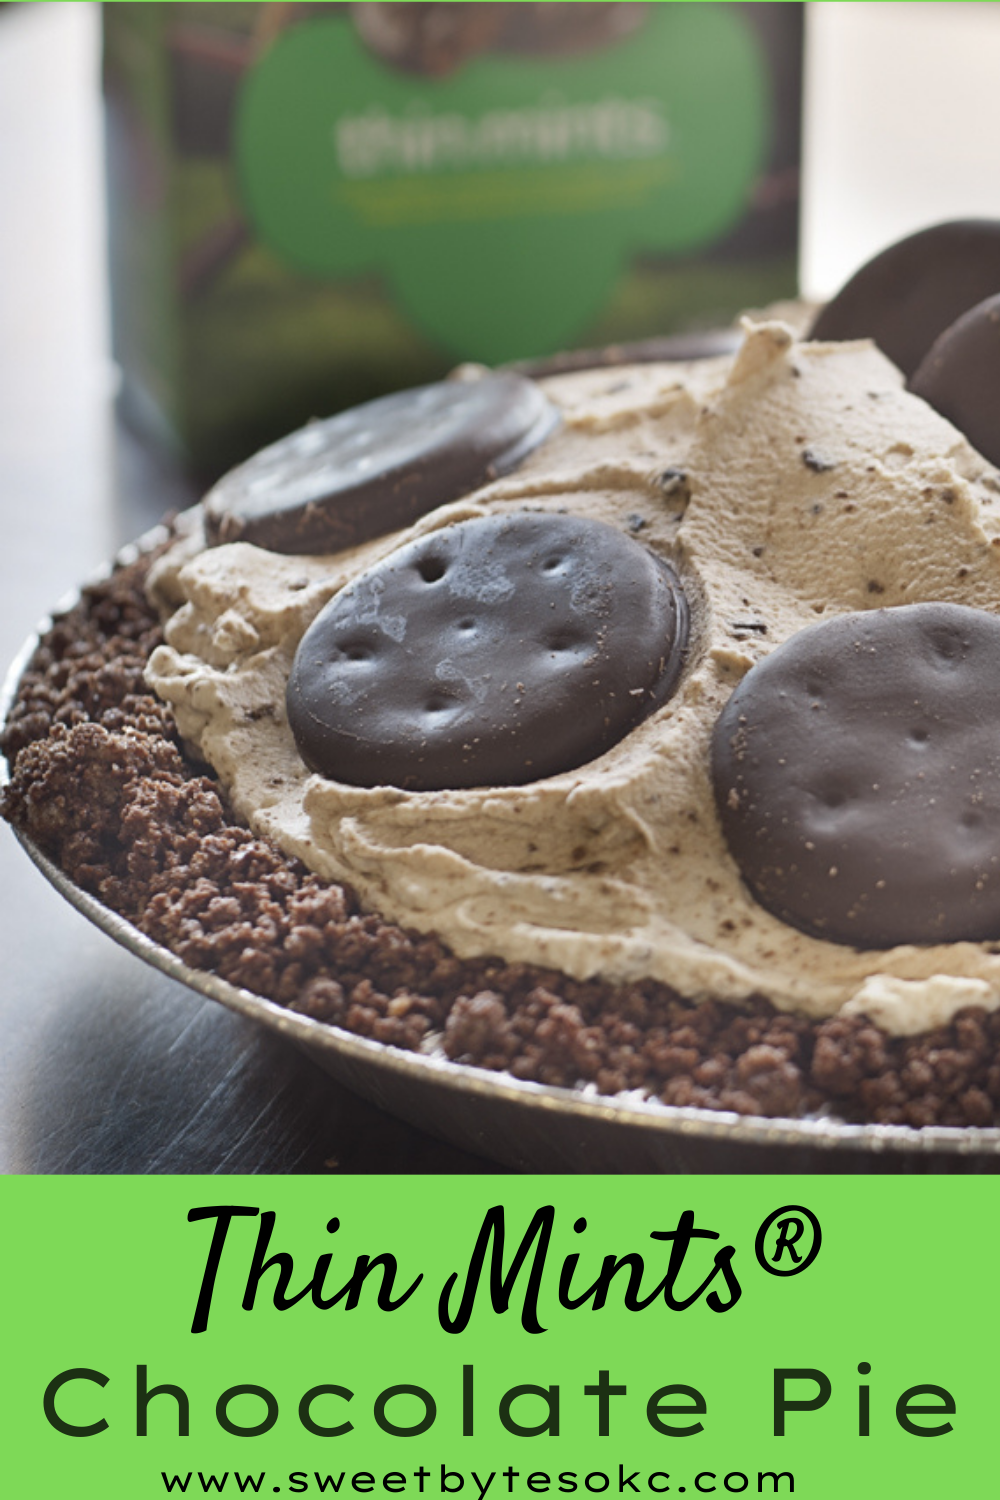
Thin Mints Pie is so amazingly delicious! Today I’m sharing the Sweet Bytes version of Thin Mints Pie. Chocolate cream pie filling, whole Thin Mints® Girl Scout Cookies, amazing chocolate Thin Mints pie crust, all topped with Thin Mints whipped cream! I’m telling you this pie is a Thin Mints® lover’s dream. Plus, you get to help your local Girl Scouts achieve their goals by buying cookies!
Jump to Recipe
A WHOLE BOX of Thin Mints® Girl Scout Cookies goes into this pie! That’s right, willpower is involved here. You can’t eat all the Thin Mints while you’re baking because you need them all. In other words, buy two boxes or stay strong, my friend.
When it’s Girl Scout Cookie time I get excited! I love supporting the Girl Scouts, sure, but more honestly they are one of the last prepackaged sweets that I still love to eat. I’m loyal too. I don’t buy the little elf made knock-offs they sell in the grocery stores. Not me. I wait all year for those girls to bust out their sales pitch, Little Brownie all the way!
OK, I’ll get on with it. PIE TIME!
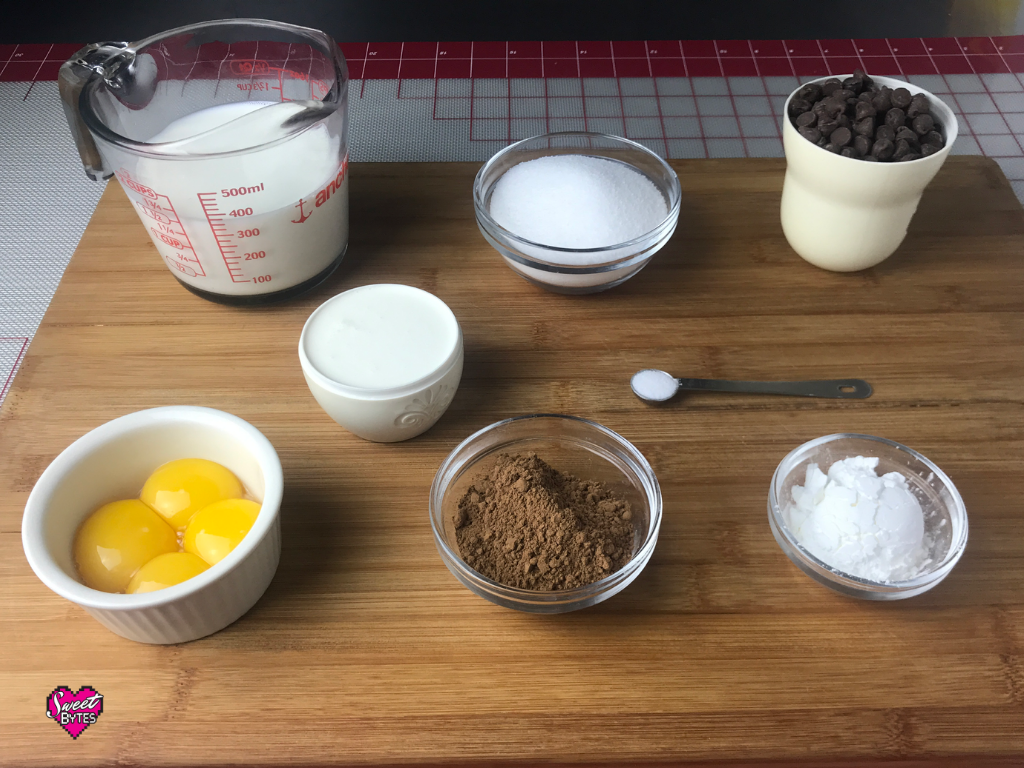
Thin Mints Pie Ingredients
- Box of Thin Mints® Girl Scout Cookies
- Chocolate graham crackers (I like using Chocolate Teddy Grahams)
- Butter
- Sugar
- Unsweetened cocoa powder
- Cornstarch
- Salt
- Milk
- Heavy Whipping Cream
- Eggs
- Chocolate Chips
- Powdered Sugar
Equipment and tools needed to make Thin Mints Pie
- 9″ pie plate
- Small food processor to make cookie crumbs
- Measuring cups and spoons
- Optional small kitchen scale
- Pan for cooking filling
- 2 medium bowls
- Whisk
- Heatproof spatula
- Sieve
- Plastic wrap
- Mixer
- Large mixing bowl
How to make a Thin Mints pie
In the following sections, I will walk you through how to make the pie step by step. All the little details that won’t fit on a recipe card and my best tips and tricks will be discussed along the way.
Jump to Recipe
The first thing to do is prepare to bake! Find all of the ingredients and necessary equipment and make sure you have everything. Also, make sure you have at least 45 minutes to work and space in the refrigerator for the finished pie.
About the Thin Mints® Cookies
My boxes have had 32 cookies in them. Count before you start! You will need 2 for the crust, 17 for the filling, 3 for the whipped cream, and 10 for the top. If you “somehow” end up with less, you can skip some in the filling, but you won’t regret staying strong and saving your cookies!
Make the pie crust
Before you can make the pie you will have to make the pie crust. Don’t worry, it’s a very simple crumb crust that doesn’t require a pastry arts degree!
This is the only part of the pie that is baked, so preheat the oven to 375°F. You need 2 of the Thin Mints Cookies and 1 1/2 cups of Teddy Graham’s crumbs. That’s roughly 1 3/4 cup of whole Teddy Grahams. I weigh them because it’s easier for me- roughly 5.5 oz total- it’s very hard to get exact with the whole cookies and that’s OK. Crumb crusts are very forgiving.
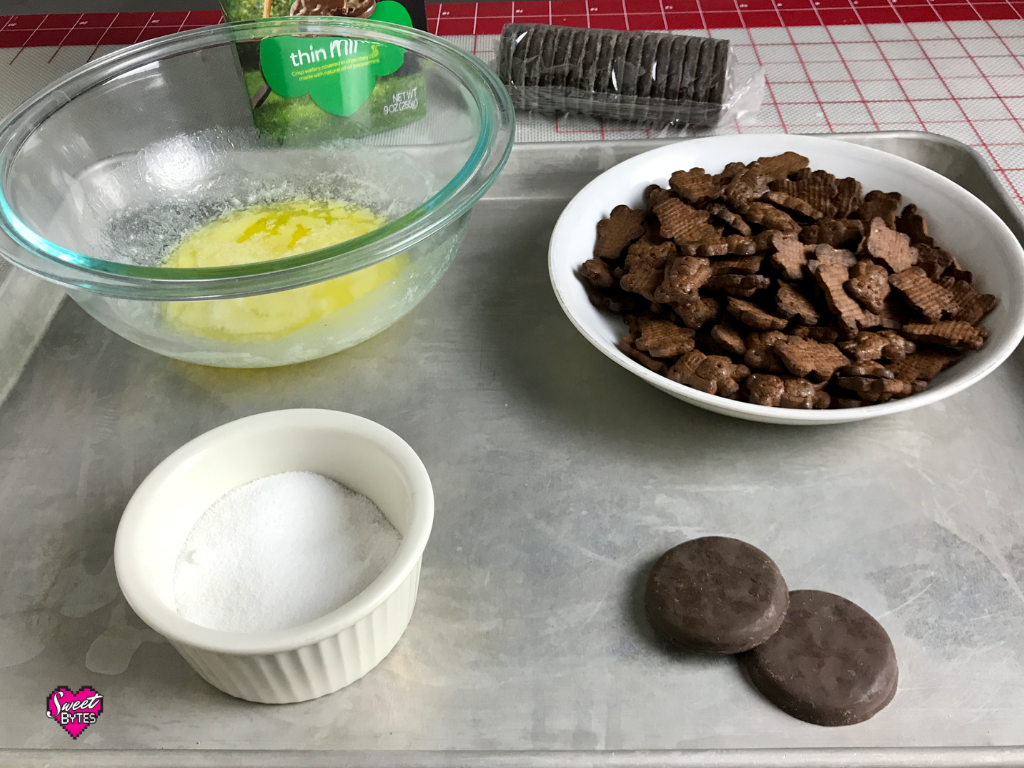
Next, make cookie crumbs out of your 2 Thin Mints and chocolate graham crackers. Place them all in a small food processor or finely chop them with a knife. You can even place them all in a plastic bag and pulverize them with a rolling pin!
I prefer mine a little chunky and irregular looking… that moment when I realized I described myself perfectly while talking about food… exactly. If you want a less rustic look, make your crumbs more refined… so philosophical today.
Melt 1/3 cup of butter (I use salted, but feel free to use unsalted) and add all of the chocolate cookie crumbs plus 1/4 cup of sugar to the melted butter. Mix thoroughly until the mixture resembles wet sand.
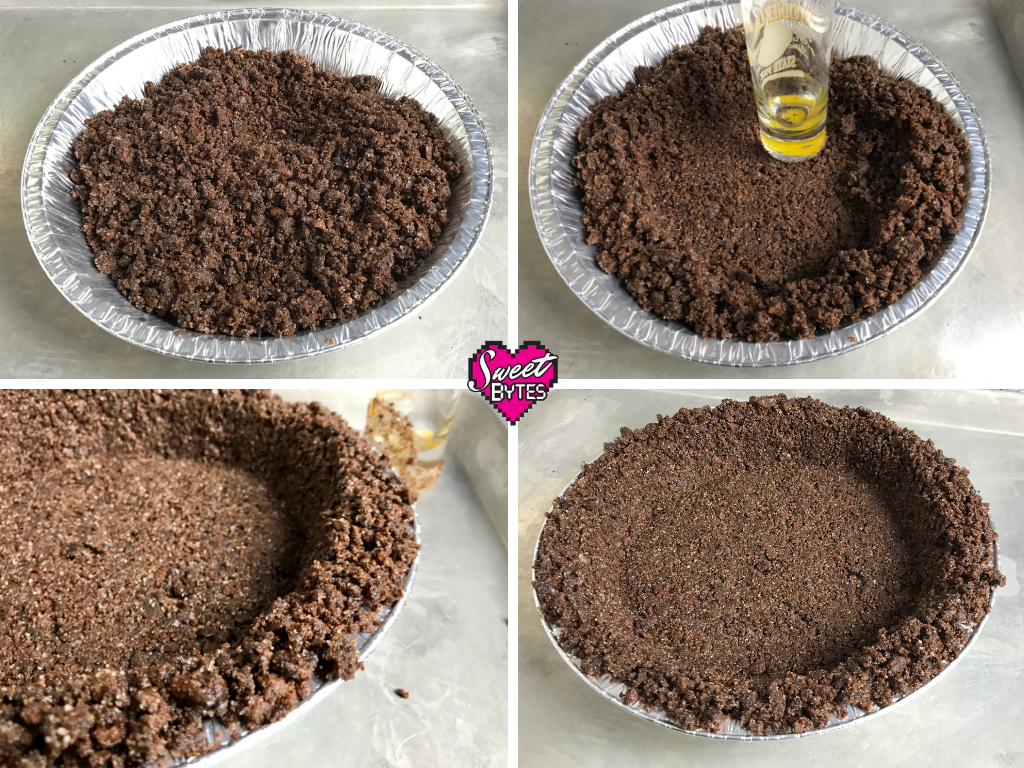
Next, dump the crust mixture into the center of your pie plate. Using your favorite flat bottomed tool, press the crumbs into the pie plate to form an even layer on the bottom and up the sides of the pie plate.
Make the chocolate cream pie filling
This chocolate filling is amazing as a regular chocolate cream pie or even as a dessert all by itself, warm or cold. It’s just SO GOOD! Also, it’s simple to whip up which makes it double good!
Before you begin, gather all of your ingredients. Make sure you have enough by pre-measuring.
Whisk together all of the dry ingredients in your pan. Whisk together all of your wet ingredients in a medium bowl (I just used my large liquid measuring cup.) Slowly pour the wet ingredients into the dry and whisk to incorporate.
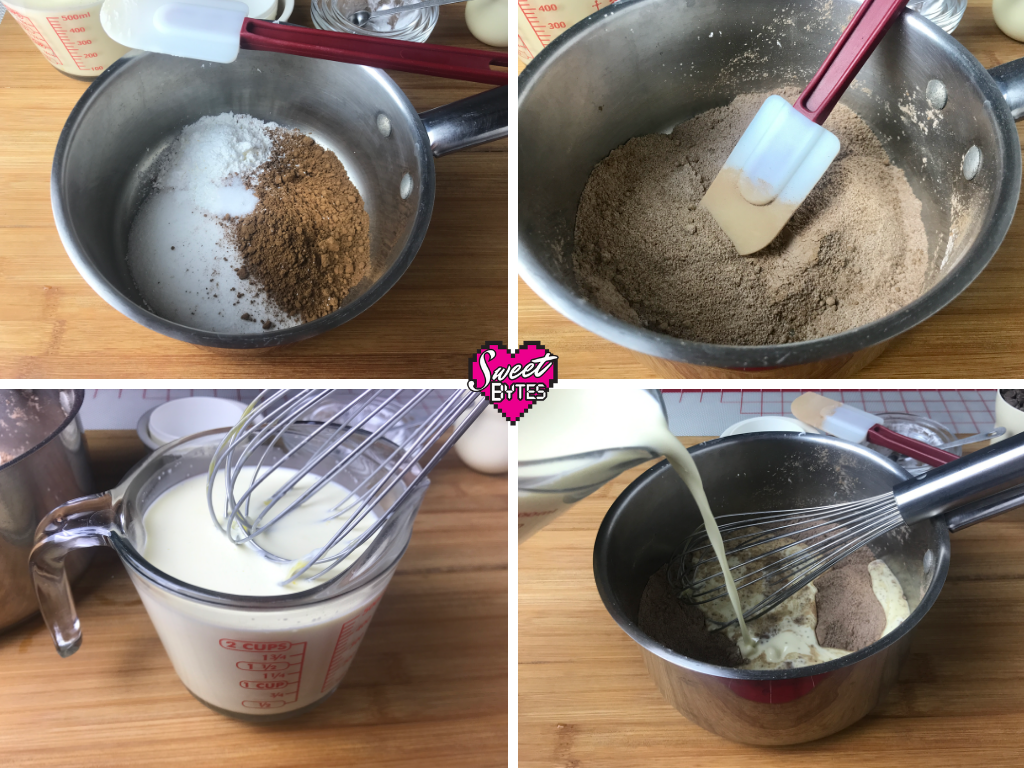
The cocoa probably won’t mix very easily, but you don’t want any big lumps, so keep whisking until it is fairly well blended.
Heat mixture over medium heat, stirring constantly. Right before it begins to boil, large clumps will start forming in the mixture. This is alarming the first time you make it, but just keep stirring, you didn’t mess up. The cornstarch is just beginning to do its thing, all is well. Soon, the whole mixture will thicken into a beautiful chocolate filling!
Continue stirring after the mixture comes to a full boil or the bottom will scorch. Allow to boil for at least one minute, but sometimes it takes a little longer. The filling is finished when it looks thick and glossy AND has boiled for at LEAST one minute. This minute is essential for the cornstarch to cook and set properly, so don’t skimp. However, if after one minute, the filling doesn’t look thick and glossy, keep going for a little while longer. Sometimes it takes up to 3 minutes for it to really look like chocolate cream pie filling.
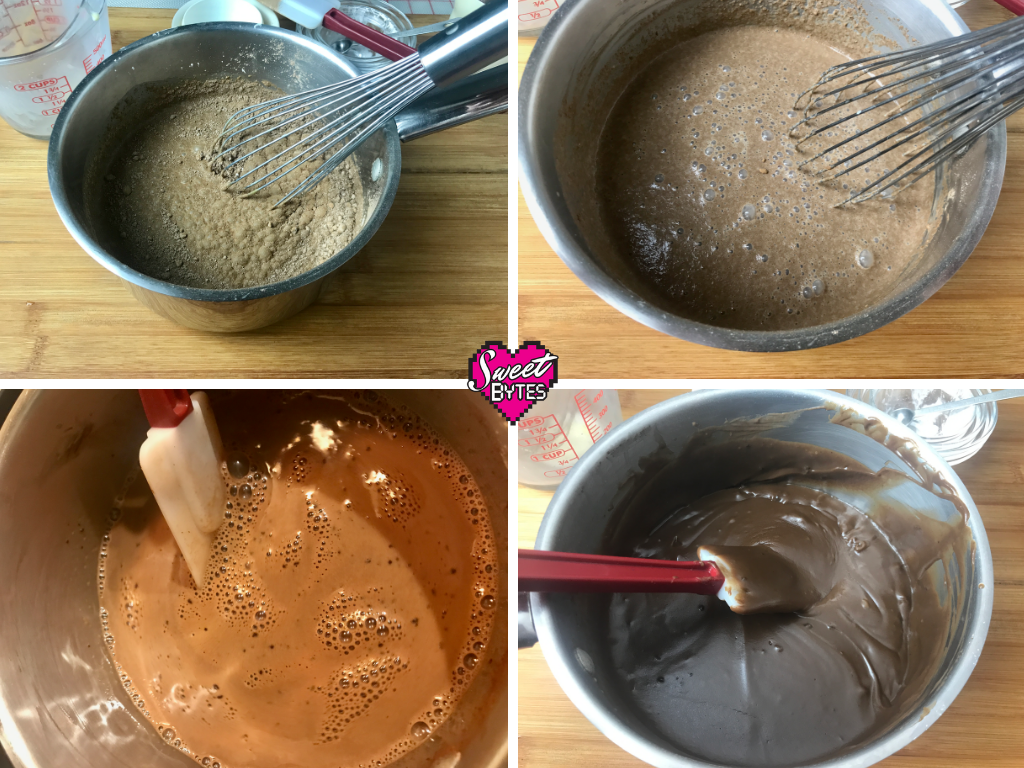
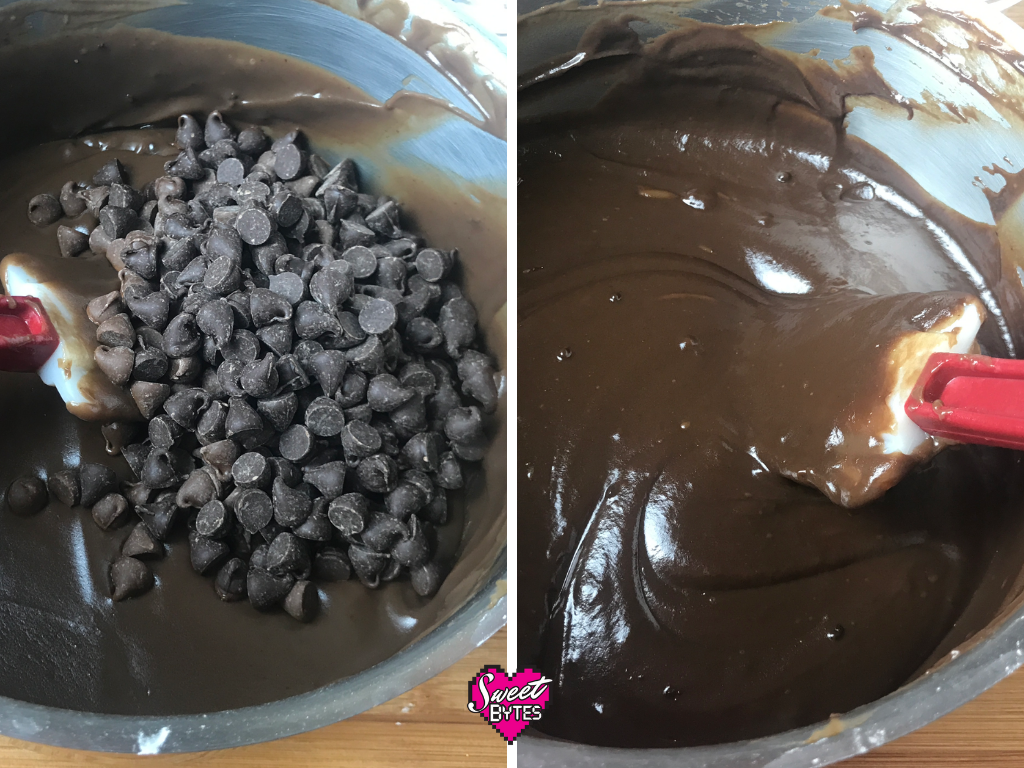
Remove from heat and add the chocolate chips. The chocolate chips are what really take this pie filling up a level. Real chocolate adds richness and density to the filling that is just perfect!
My “secret” is that I add 1/2 milk chocolate chips and 1/2 semi-sweet. You can add all milk or all semi-sweet and it will still taste great. I just like the 1/2 way between the two chocolates place.
Continue gently stirring until all of the chocolate chips are melted and well blended.
Get a little obsessive (totally optional, but it’s me…)
OK, really now… You don’t HAVE to do this part. However, I am trying to have full disclosure here so that you will know what I really do when I bake and not hold out on you.
Jump to Recipe
I hate when I feel like part of the secrets are still secret when I’m done making a new recipe.
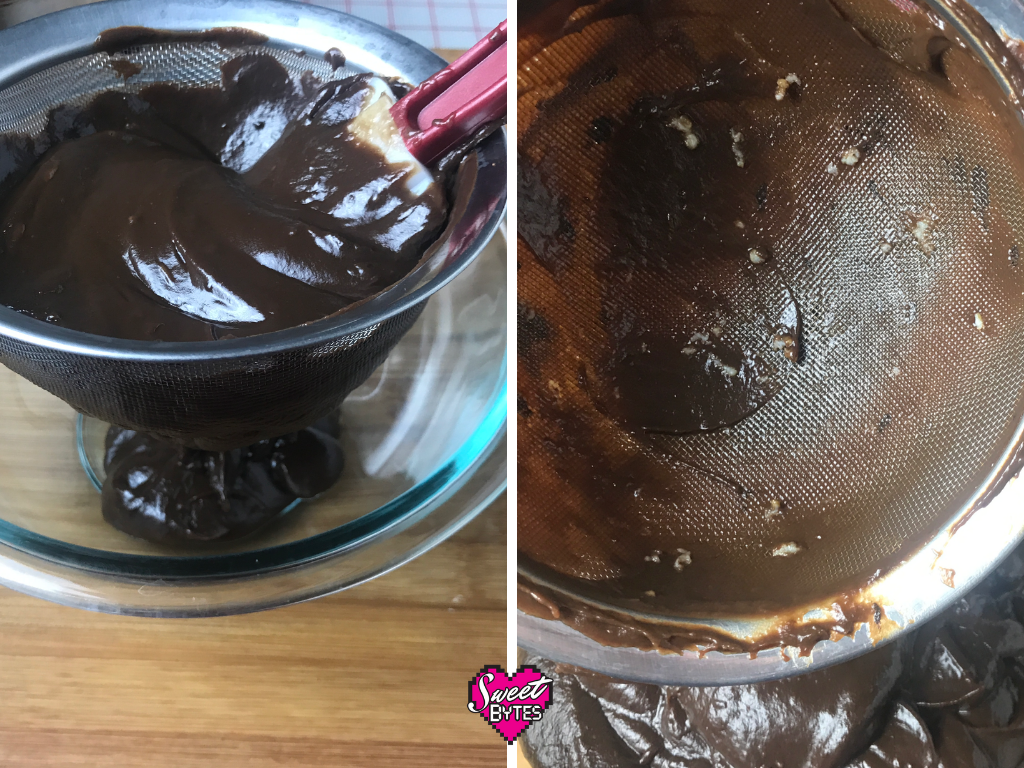
So, here goes: push all of the chocolate pastry cream filling through a sieve into a bowl before filling the pie with it! I am always amazed at what is left in the sieve when I am done. Little egg belly buttons and pieces of wax from the chocolate chips and sometimes undissolved bits of cocoa or sugar that I’m glad to have caught. It just makes feel me happy knowing that it’s as smooth and delicious as possible.
Assemble the pie
This is where the magic happens! It can’t be called Thin Mints Pie without the Thin Mints, so I like to layer them right into the pie!
Begin by covering the bottom of the pie crust with a layer of 8 Thin Mints. Pour about half of the chocolate cream filling on top of the cookies, followed by another layer of 9 Thin Mints cookies, then finish it off with a final layer of filling.
Cover the entire surface of the pie with plastic wrap. Lay the plastic right on top of the pie and use your fingers to gently press the plastic to the surface. If you don’t, the chocolate filling will form a dry skin on the surface, which will have a chewy texture and this is not supposed to be a chewy pie, so avoid that.
Since this is a cream pie, it will require at least 4 hours in the refrigerator. If you can leave it in longer, as in overnight, that will be the best.

Garnish and serve
To finish off the Thin Mints Chocolate Pie, top it with some stabilized whipped cream with 3 Thin Mints cookies crumbled and stirred into the whipped cream. If you need an amazing homemade whipped cream recipe: here’s a link to my favorite homemade whipped cream.
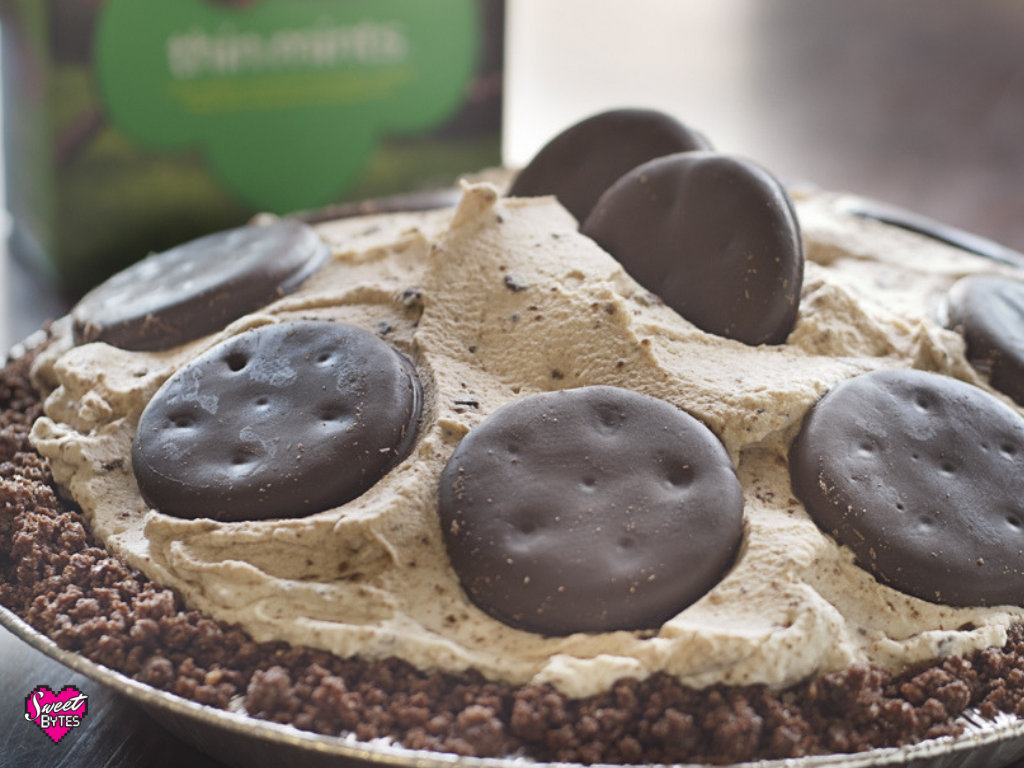
I grind the crumbs just like I did when making the pie crust and fold them into the finished whipped cream. Then I pile the pie high with the whipped cream. Use an offset spatula to smooth it into a dome or add a few artistic whirls.

Now, there “should be” 10 cookies remaining. Should be… If you succeeded in not eating all of your remaining cookies, use those to decorate the top of the pie. If you failed, you can call a girl scout and order another box, she’ll never tell! I think they take a vow of secrecy or something…
Thin Mints Chocolate Pie
Thin Mints Pie is a beautiful chocolate cream pie that supports the Girl Scouts of America by using a whole box of Thin Mints Girl Scout Cookies as an ingredient. If you love Thin Mints, this is the pie for you.
Ingredients
Thin Mints Crust
- 1 1/2 cup chocolate graham cracker crumbs (I use Teddy Grahams) 5.5 ounces
- 1/3 cup melted butter
- 1/4 cup sugar
- 2 Thin Mints Girl Scouts Cookies crumbs finely chopped
Thin Mints Chocolate Pie Filling
- 3/4 cup sugar
- 1/4 cup natural cocoa powder
- 3 Tablespoons cornstarch
- 1/4 teaspoon fine salt
- 1 1/2 cup whole milk
- 1/2 cup heavy whipping cream
- 4 egg yolks from large eggs
- 1 cup chocolate chips or chopped chocolate
- 17 Thin Mints Girl Scouts Cookies whole
Thin Mints Whipped Cream
- 2 cups heavy whipping cream
- 1/2 cup powdered sugar
- 2 teaspoons nonfat milk powder
- 3 Thin Mints Girl Scouts Cookies crumbs finely chopped
Instructions
Pre-heat the oven to 375°F
Make the Thin Mints Pie Crust
-
In a food processor or by hand, chop the chocolate graham crumbs and the 2 Thin Mints together to make fine crumbs.
-
Place the butter, chocolate Thin Mints crumbs, and sugar in a medium mixing bowl. Stir until incorporated and the mixture resembles coarse wet sand.
-
Pour pie crust mixture into your 9" pie plate. Using a flat bottomed glass or tamper, press the crumbs into the bottom and sides of the pie pan. Start in the center and work the crumbs up the sides for best results.
-
Bake the pie crust on a baking sheet for ease of transport. Bake for 8-10 minutes or until the top edge of the crust looks slightly toasted.
-
Remove pie crust from the oven and allow to cool until needed.
Make the Thin Mints Chocolate Pie Filling
-
In a medium pan, whisk together the sugar, cocoa powder, cornstarch, and salt.
-
In a medium mixing bowl whisk together milk, cream, and 4 egg yolks.
-
Slowly pour wet ingredients into the dry ingredients, whisking as you pour. Continue to whisk the mixture to blend ingredients, making sure to get all of the dry ingredients from the edges of the pan bottom.
-
Set pan over medium heat, stirring continually and scraping the bottom of the pan with a heatproof spatula or wooden spoon. Do not rush or stop stirring or the filling will scorch.
-
Before the pie filling boils, it will begin to make clumps, it's supposed to happen, keep stirring! Continue stirring until mixture reaches a full boil.
-
After it reaches a full boil, continue to stir and allow to boil for 1 full minute AND until the filling looks glossy. It might take up to 3 minutes.
-
Remove filling from the heat and add the chocolate chips. Stir slowly until all of the chips and melted and well blended into the filling.
-
Optional: Pour the filling through a fine-mesh sieve to strain out any clumps that might be remaining. Use a spatula or spoon to help filling work through since it's so thick it takes a little elbow grease.
-
Arrange 8 whole Thin Mints in a single layer in the bottom of the pie crust. Pour about 1/2 of filling on top. Arrange another layer of 9 cookies on top of the filling followed by the remaining filling.
-
Lay plastic wrap directly on the top surface of the pie. Refrigerate at least 4 hours and preferably overnight before topping and serving.
Make the Thin Mints Whipped Cream and Garnish
-
Pour heavy whipping cream, powdered sugar, and nonfat milk powder into a large mixing bowl or the bowl of a stand mixer.
-
Beat on medium-high speed until the whipped cream thickens and will hold a stiff peak on the end of your beater attachment. DO not over beat
-
Gently fold 3 finely chopped Thin MInts cookies into the whipped cream and continue to stir gently until all of the crumbs are evenly distributed throughout the cream.
-
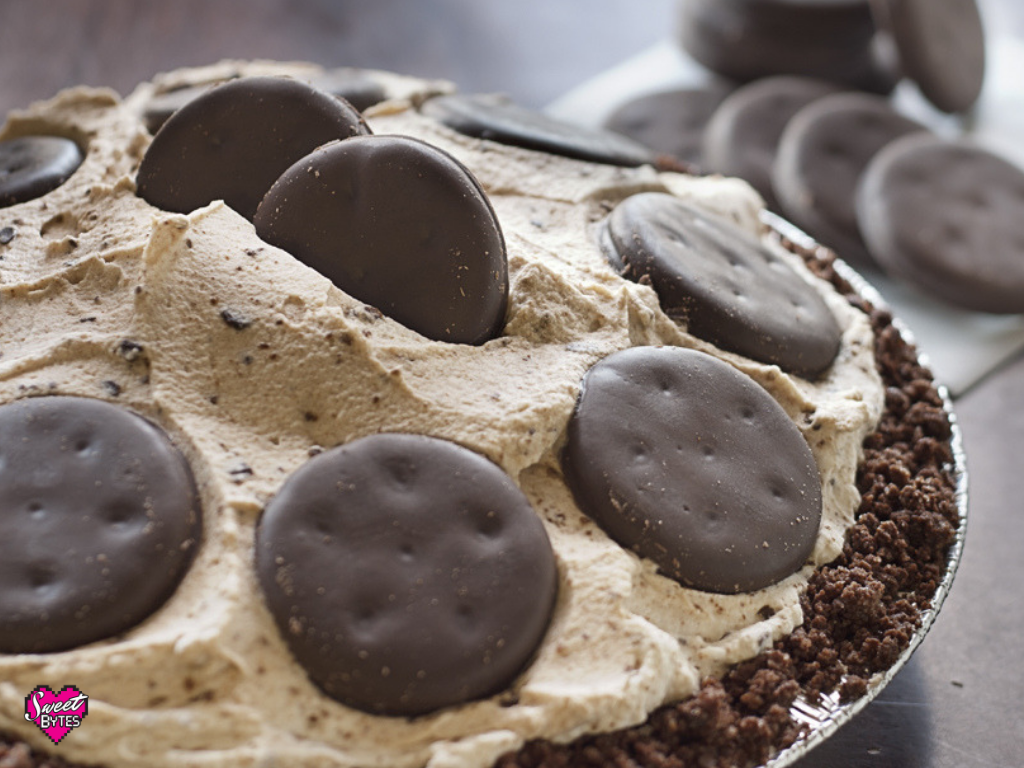
Heap whipped cream on top of the chilled Thin Mints pie and artfully arrange the remaining 10 Thin Mints cookies on top before serving.
-
Slice and serve immediately or refrigerate.
Recipe Notes
The pie will stay fresh for approximately 3 days in the refrigerator.
Do you have any questions or comments about the Thin Mints Pie Recipe?
I hope you love this pie as much as we do. I used to sell a lot of them during the bakery days and everyone always gave great reviews! If you tried it, please leave a comment and rate the recipe below! If you have any questions, please don’t hesitate to ask and I will do my best to find a good answer.
Stay in touch by subscribing to my free newsletter here.