In this article, I’m sharing my tried and true pointers for baking pie crust! The best part is the tips in this article work for any traditional pie dough whether store-bought or homemade!
Knowing the best way to handle baking the crust is a huge part of baking a pie. When it comes down to it, you really have 3 choices when baking pie crust. You can blind bake, parbake, or you can bake the pie and filling together starting with a raw crust.
This post contains affiliate links, I earn from qualifying purchases.
How to blind bake a pie crust
For the blind bake method of baking pie crust, you fully bake the crust before you ever put any filling inside. This is best for pies where you will not need to cook the filling, such as a banana cream pie or a meringue pie.
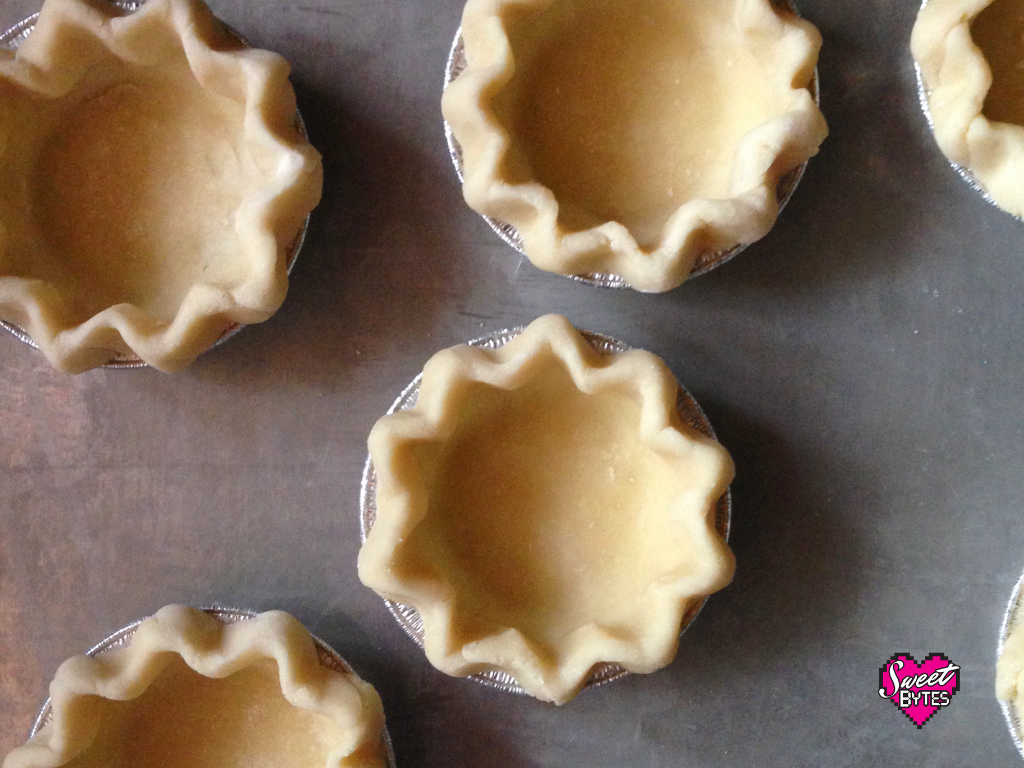
You can also pre-bake crust designs that you are going to add on to the pie at a later time, such as cut-out leaves.
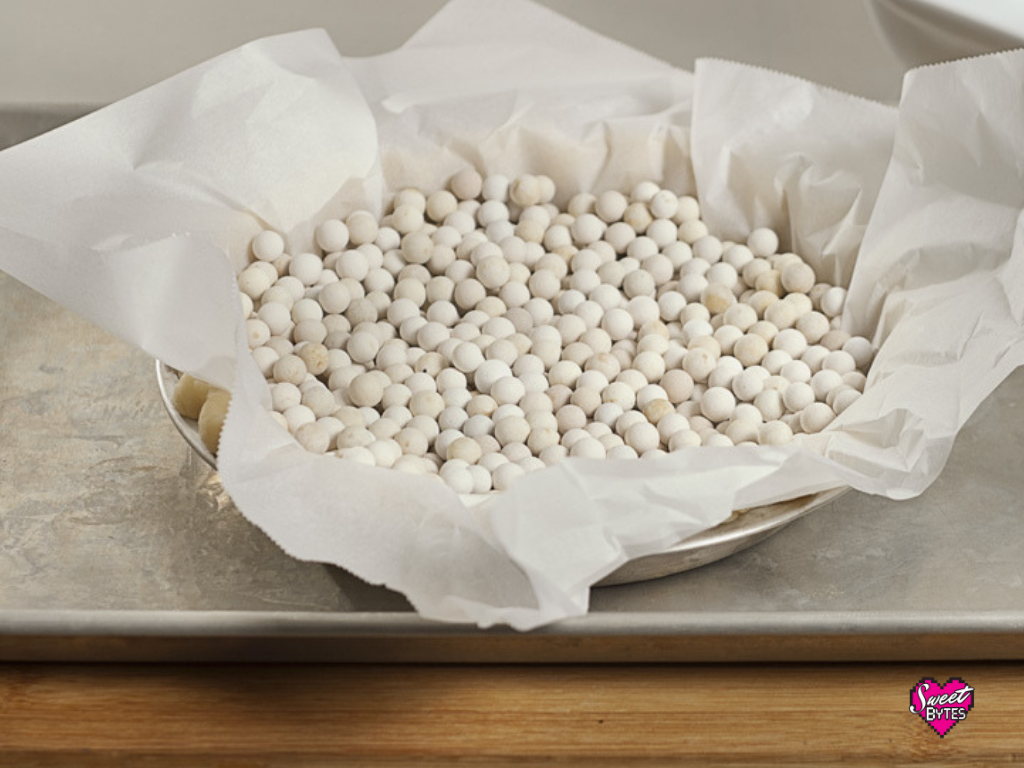
My favorite way to for blind baking pie crust is with ceramic pie weights. Many people love to use pennies or beans, or rice and they all work, but I love the little ceramic pie weights. That link is the type that I have and I use all of them for one pie crust, they will last forever.
A lot of pie baking information and even the sellers of the pie weights say you just cover the bottom of the pie shell, but you really have to fill it up if you don’t want the sides of the crust to slump. Even the package of weights says are enough for 2 pie shells, but I use this much in one.
The steps are the same no matter what you use to weigh down the crust.
- After placing the crust in the pan and decorating the edge, let it hang out in the freezer for at least 30 minutes to let it relax and freeze.
- Bake on top of an aluminum baking sheet
- Line the frozen crust with parchment or foil (I prefer parchment)
- Fill the pie crust with your weights. Don’t just fill the bottom. Fill it up!
- Bake at 400°F for 20 minutes, remove from oven.
- Remove the lining and weights and bake for 4-5 more minutes until evenly browned all over.
How to blind bake a pie crust without weights *
- After placing the crust in the pan and decorating the edge, let it hang out in the freezer for at least 30 minutes to let it relax and freeze.
- Bake on top of an aluminum baking sheet.
- Prick the inside of the pie crust, including the sides, all over with a roller docker
or a fork. This will allow the air to escape
- Bake the pie crust on 400°F for 20 minutes, then check for browning
- After removing the crust from the oven use a clean dish towel and gently press the crust down any large air bubbles that formed. BE CAREFUL, the air released from the bubble will be STEAMY HOT!
*This is not my preferred method. If you are worried about the sides slumping or you use an all butter crust, it’s a safer choice to use pie weights. This is the method listed in the directions for most store bought pie crusts.
Parbake pie crust
Parbaking is short for partially baking. This is a great way to make sure that your crust will be crispy on the bottom when baking crumble pies or custard pies where you will be filling a single crust pie with a wet filling
- After placing the crust in the pan and decorating the edge, let it hang out in the freezer for at least 30 minutes to let it relax and freeze.
- Bake on top of an aluminum baking sheet
- Line the frozen crust with parchment or foil
- Fill the pie crust with your weights. Don’t just fill the bottom. Fill it up!
- Bake on 400°F for 15 minutes, remove from oven and remove the pie weights.
The rim of the pie might start to brown a little, but the inside should still be pale.
Baking pies without blind baking or parbaking the crust
If you are going to bake the filling of the pie and the crust of the pie at the same time, there are a few things you can do that will help guarantee your crust performs its best.
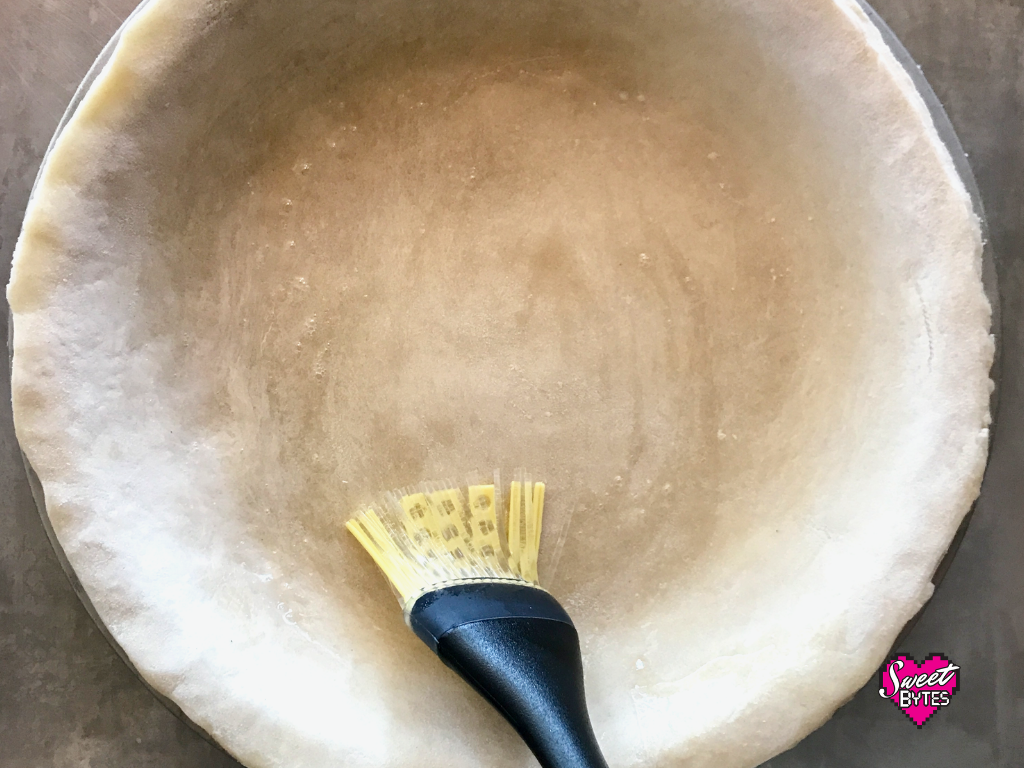
- Brush the inside of the crust with an egg white. The egg white will form a barrier and keep the crust from getting soggy too easily. You could also brush some melted chocolate or candy melt in the bottom instead of using egg white if that would compliment your pie filling.
- If your pie has a top crust, you can brush the top with some cream for a golden brown or you can use an egg yolk with a teaspoon of cream whisked together if you want it to be a little shinier than cream alone. (Those are my 2 favorites, Others prefer just milk, some egg white, some whole egg, experiment until you find your favorite.)
- After you brush the top with cream or egg wash, bake the pie on the bottom shelf position. This will get the bottom done and the top not so close to the heat source.
- Start with a high heat, I like 425°F for 20 minutes, but others prefer 450°F 15 minutes. Then I turn down the heat to 375°F and finish off the pie (which usually means until the filling is bubbling.)
- If you are worried about over-browning, you can shield the pie with a foil tent like in this short little video:
or you can place a cookie sheet on the shelf right above the pie. - Rotate your pie 1/2 way through the baking if your oven has hot spots.
Baking pie crust with a lot of decorations
Whenever I bake a pie that has a really special design, I consider what type of pie filling and what are the chances of the design not making it through the bake before I decide how I will bake it.
If the top will bake flat, like blueberry or cherry, I can usually bake the whole thing as I normally would.
With a very liquid filling the crust decorations might sink. In a pie like buttermilk or pumpkin, I bake the decorations separately for about 20 minutes on 375*F or until the desired browning has occurred.
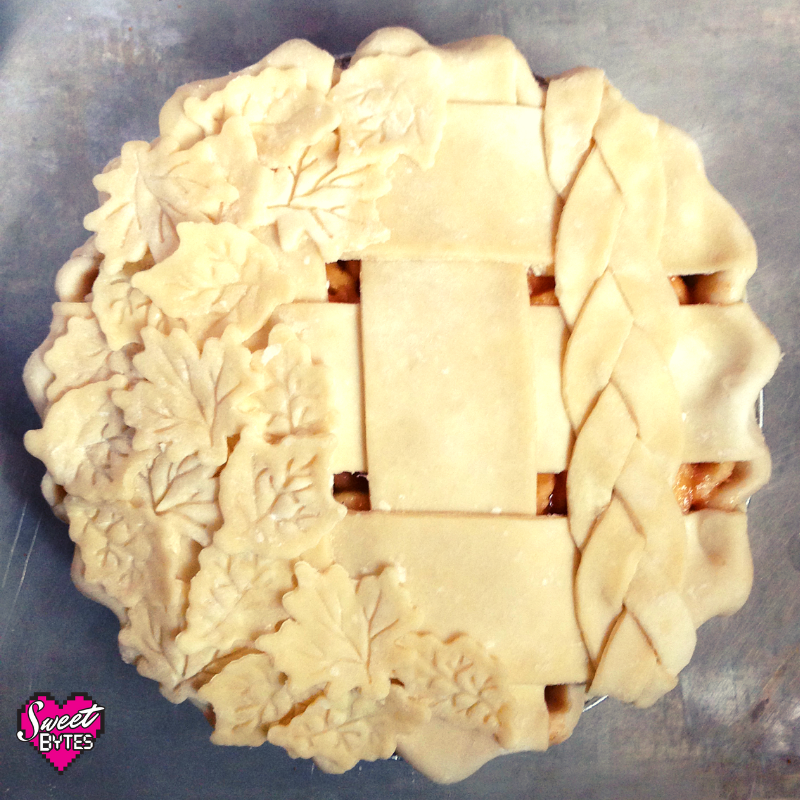
For an apple pie or something lumpy, I go for designs that aren’t going to be hampered by the crust settling. Things like braids and organic shapes that don’t have to be precise are great.
Really, baking pie crust isn’t very difficult, you just have to bake it until it’s as brown as you like it to be. The hardest part is trusting yourself.
The best part is that even when it’s not perfect, it’s still pretty darn good!
Looking for more about pie?
Here are some more Sweet Bytes articles about pie
Truly the Best Pie Crust Recipe
How to Bake A Pie From Scratch
And if you are getting cold feet about pie crust try
Questions or comments?
If you have any questions about baking pie crusts or there is any way I can help just let me know! You can send me an email or leave a comment below.
If you join my free newsletter I’ll send you an all the Sweet Bytes updates, usually every other Wednesday!
