Many blessings and goodwill offered to you and yours this Lunar New Year! The imagery and symbolism of this holiday are my favorite. I love the idea of renewal, good luck for the coming spring, and the family unity of this celebration.
Although in the U.S. we get to experience every culture, just by being a melting pot, we don’t often engage in each other’s celebrations. The Lunar New Year, with its weeks of proper preparation and days of celebration feels like something we need right now. We need unity and closeness, we need to celebrate and remember that we all share this passing of time.
This post contains affiliate links, I earn from qualifying purchases
To celebrate, I felt moved to do what I do best, make a pie!
I do realize that cherry pie or even pie does not follow holiday tradition. It’s more of an appreciation pie to acknowledge my solidarity with those who are celebrating traditionally.
My process in making the pie
This pie has been so well received on social media that I am documenting it here in a nice little post. So often things posted on Instagram come and go, but this post will memorialize my lucky pig forevermore.
Step 1: Imagery
The first step was finding visual inspiration. I headed to the internet to look for imagery that struck my fancy. Sometimes this can be a bad thing because it may impede original ideas. However, this time I needed to do this to see a pig in a new light other than as a farm animal.
The internet did not let me down. I ended up falling for this guy:

Step 2: Plan of attack
Next, was planning how to turn the beautiful image into a pie crust. There were several different ways to approach it. I could have had a solid crust with cut-outs on top or let the red be the pie filling showing through.
My biggest concern was that things would get lost in the filling as it was baking. Luckily, that wasn’t an issue.
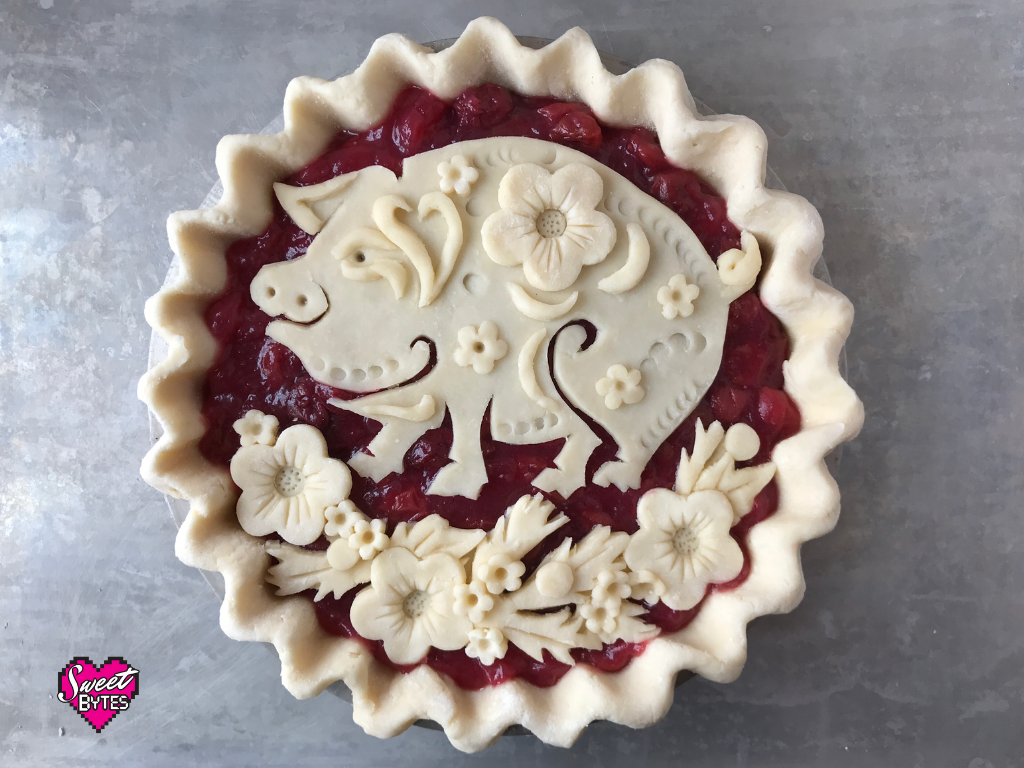
Ultimately, I decided that the design would work well with two separate pieces.

For pies, drawing on the parchment circles for cake pans works well. They are easy to work with and just the right size. Plus, I don’t feel bad having them around since I also use them for cakes. (Don’t let my daughter know or she’ll turn them all into cut paper snowflakes!)
Amazon affiliate link to parchment circles
Step 3: Weapons of choice
My favorite pie crust was an easy choice, the link is in Truly the Best Pie Crust Recipe. I made a batch the day before it was needed it so it would have time to rest and have its moisture evenly distributed. Worked like a champ!
Here are the tools I used. Really, the scalpel and the flower cutters handled most of the work.

The Innovative Sugarworks Sugar Shapers also
helped tremendously with the fine details, imprinted textures, and smoothing out the cut edges. They might be the best thing since sliced bread.
I recently bought a pack of medical grade scalpels instead of my usual X-acto blades. WOWIE, they work great! next time I will look for some that don’t have disposable handles.
Step 4: Put in the work
Once I got going, the actual process didn’t take too long. The flower part was easier to arrange, so I worked on completing that first.
During the making, the pieces that I wasn’t using were returned to the refrigerator. Keeping the pie dough very chilled helps everything remain easy to cut and workable. When pie crust becomes too warm, the butter starts melting and sticking to everything. Staying chill is a state of mind as well as a physical state when working with pie crust.
Water and the paintbrush were the only “glue” I needed. Everything behaved and stuck the first time.

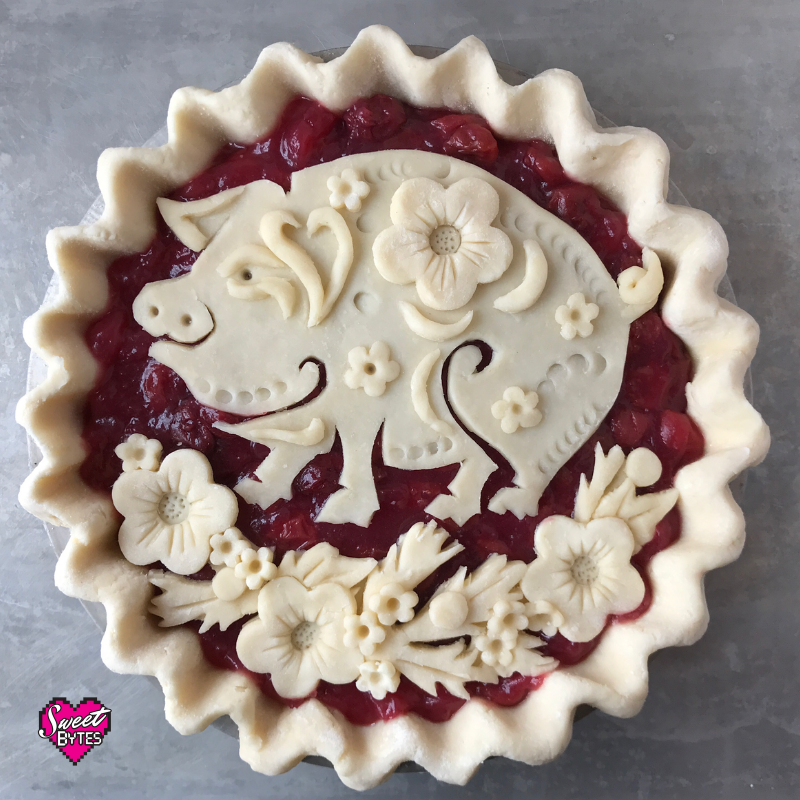
One of the most difficult parts of the pie was actually the tail! As I was attempting to twist it around, the butter kept melting, making it unmanageable and very frustrating since it was such a tiny fiddly bit. Finally, I resorted to cutting a strip and manipulating it with tools. Pie crust doesn’t like hands too much.
Step 5: Baking the pie
Red and gold are the most important colors for the Lunar New Year celebration. Cherry pie seemed like a good match for the color and I was hoping the golden brown of the pie crust would translate.
(I’ll be posting the cherry pie recipe later, promise!)
When I pulled it out of the oven, every part was perfect… EXCEPT for the pig. The pig was still pale and hardly even cooked. SOoooooo… I bumped up the temperature in the oven and covered every part except for the pig with foil. I also decided to raise the rack position in the oven.
4 minutes later Mr. Pig was roasted a little too well. Alas, sometimes it happens. So, next time I will probably NOT raise the rack position at the same time I bump the temperature!
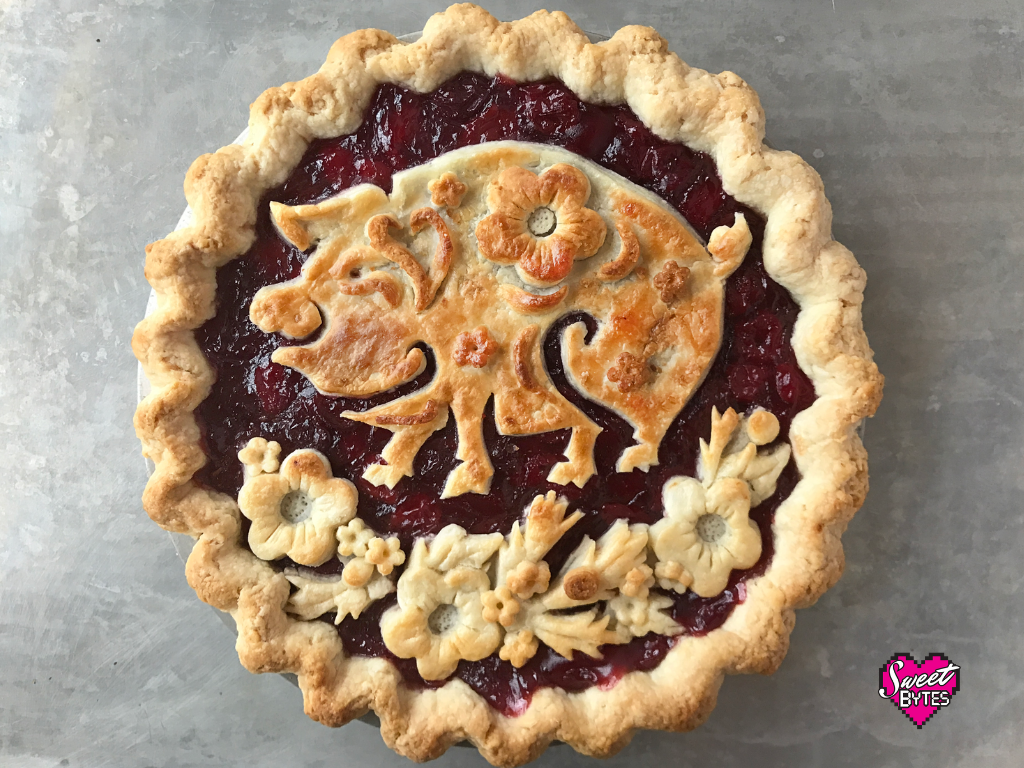
I was too scared to cover the pig and try to get the flowers to match! I figure I’ll just eat all the evidence.
Questions or comments?
Please leave a comment below and feel free to ask any questions that you have. I hope this little piggy brought you a little joy and inspiration to bake something amazing!